How Do I Integrate Braintree Payments Into My Flutter Mobile App?
- mobile payments
- fintech
- flutter
- technical
Introduction
Mobile commerce (or m-commerce) is now as good as universal in technologically developed countries. Wherever smartphones are widely available, customers expect to be able to use them to pay for goods and services with an app or contactless payment.
Luckily for developers serving this market, this rapid rise in demand has been matched by payment gateway providers’ improvements to payment systems, greatly simplifying the integration process.
Based on our experience, we regard Braintree as the industry leader, particularly for the wide range of payment methods it supports. The Braintree SDK allows developers to implement and customise payment systems for mobile applications, and also offers dedicated UIs for Android and IOS.
But what about cross-platform apps? In the case of mobile applications, Braintree officially supports only their native technologies, which is a limitation. If developers want an m-commerce app to share a codebase between platforms, we have to reach for plug-ins that wrap the Braintree SDK. In the following detailed step-by-step guide, I introduce one such package, Flutter_braintree known as Braintree for Flutter.
Part I: Braintree account registration
First, we need to register to access Braintree. For beginners, I recommend setting up a free sandbox account that allows you to test all functions in a safe environment. Later, when we want to make real transactions, we can easily replace the data. But let’s start with what the sandbox is and how it differs from a production account.
The sandbox is a test environment that reproduces the production environment with minor differences. In the sandbox, we can also create users and roles or carry out transactions using test credit card numbers.
What are the other differences?
| Functions | SandBox | Production |
|---|---|---|
| Login URLs | Login link | Login link |
| Payment methods accepted | Test credit cards/payment methods | Real creadit cards/payment methods |
| Processor responses | Triggered by specific test values | Returned by processing banks |
| Hardware resources | No dedicated hardware resources – can't withstand high transaction volumes | Dedicated hardware resources – can withstand high transaction volumes |
| Purge and delete capabilities | Can purge transactions; Vault records; payment methods; addresses; subscriptions; and sub-merchants | Must manually delete Vault records; payment methods; addresses; and subscriptions; must manually suspend sub-merchants; can't delete transactions |
| Webhooks | Triggered by specific test values | Triggered by actual events in the gateway |
| Processing options and settings | Standard processing options are displayed | Processing options may be limited based on account setup |
| Disputes | Chargebacks can be created in the Control Panel; and you can simulate winning or losing a dispute | The way you manage chargebacks depends on your account setup – not all accounts have disputes available in the Control Panel |
| Location | Determined by the country selection made at the time of signup | Determined by the country in which your business is registered |
| Recurring Billing | Limited to 100000 active subscriptions | Unlimited number of subscriptions |
Source: Braintree - Try It Out/Sandbox versus production - https://articles.braintreepayments.com/get-started/try-it-out
However, you should note that the sandbox account is not linked to the production account, so nothing created in the sandbox can be moved over.
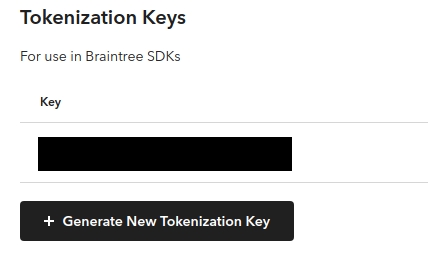
After registration, you will have access to a Sandbox merchant ID, a public key, a private key and you will be able to generate your tokenisation key.
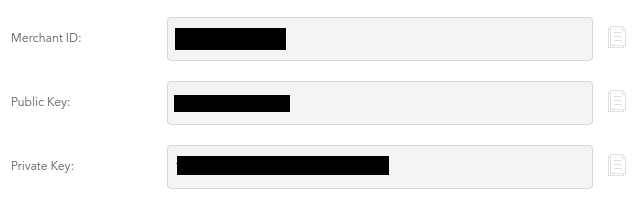
- Merchant ID is the unique identifier for your entire gateway account. You will have separate merchant IDs for sandbox and production accounts.
- Public Key is a user-specific public identifier. Each user associated with your Braintree gateway has their own public key.
- Private Key is another user-specific private identifier. Your private key should never be shared beyond the use of an API call. Do not share it with anyone.
- Tokenisation keys can be used for authorisation in your Braintree integration. They authorise the client SDK to tokenise payment information for use on your server.
Part II: Using the Flutter plug-in
Now let’s move on to configuration of the Flutter application itself. Follow the steps below to complete this for both platforms.
Step 1: First, we have to import our flutter_braintree package.
dependencies:
  ...
flutter_braintree: <version>
Step 2: Android setup
Migration to AndroidX
In /app/build.gradle we need to set our minSdkVersion to at least 21.
Card scanning
Card scanning is a process in which the user can use his camera module to take a photo of his payment card. The photo is used only for this single operation and won’t be saved or sent anywhere. The system just reads the necessary information so that the user doesn’t have to enter it manually. By default, this feature is disabled to reduce the size of the app. If we want to allow our users to scan their credit cards instead of typing card details, we need to add the following line to our build.gradle file:
dependencies {
...
implementation 'io.card:android-sdk:5.+'
}
PayPal/Venmo/3D Secure
If we want to support PayPal, Venmo or 3D Secure payments, we have to allow for the browser switch by adding an intent filter to the AndroidManifest.xml inside the <application> body:
<activity android:name="com.braintreepayments.api.BraintreeBrowserSwitchActivity"
  android:launchMode="singleTask">
  <intent-filter>
    <action android:name="android.intent.action.VIEW" />
    <category android:name="android.intent.category.DEFAULT" />
    <category android:name="android.intent.category.BROWSABLE" />
    <data android:scheme="${applicationId}.braintree" />
  </intent-filter>
</activity>
{applicationId} corresponds to the app’s package ID so if our package ID is com.your-company.your-app then the URL scheme should be com.your-company.your-app.braintree
Google Pay
Add the wallet-enabled meta-data tag to your AndroidManifest.xml inside the application body:
<meta-data android:name="com.google.android.gms.wallet.api.enabled" android:value="true"/>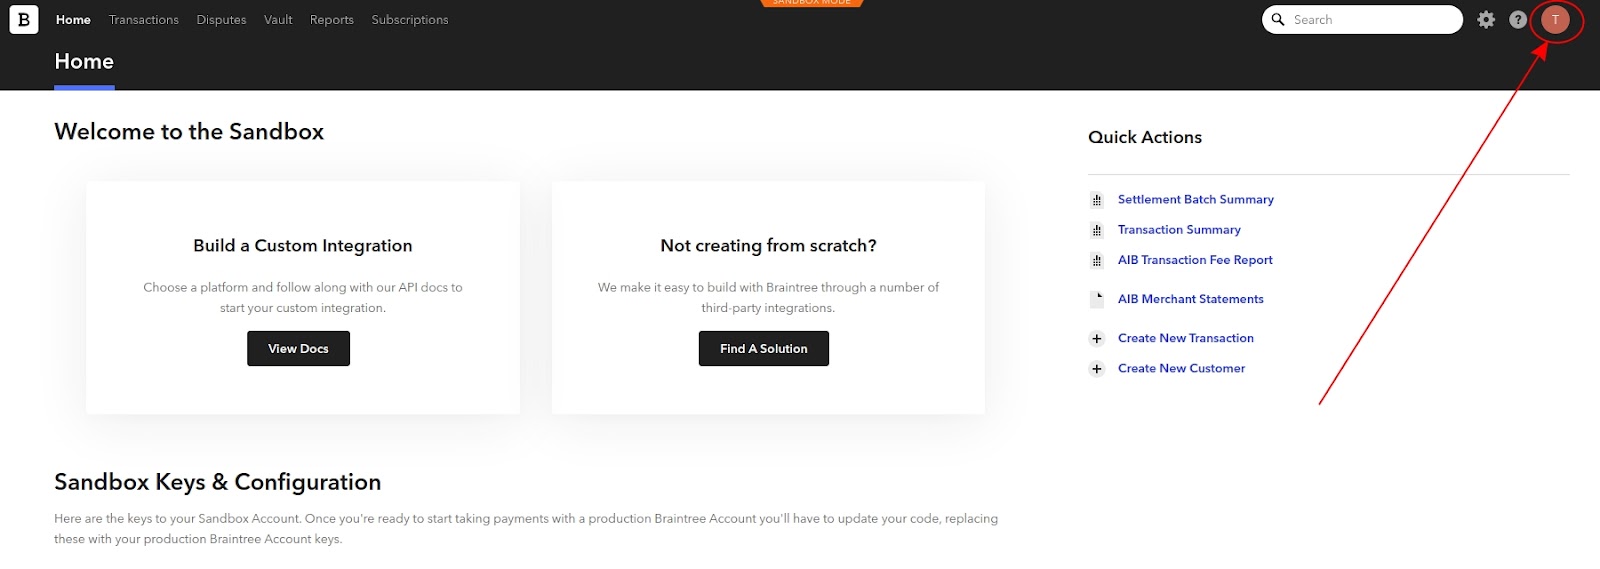
IMPORTANT! We strongly recommend enabling Two-Factor Authentication to secure the account. This option is available in the user settings at the bottom of the screen as seen in the screenshot above.
Step 3: iOS setup
You may need to add or uncomment the following line at the top of your iOS Podfile:
platform :ios, '12.0'PayPal/Venmo/3D Secure
In your App Delegate or your Runner project, you need to specify the URL scheme for redirecting payments as follows:
BTAppContextSwitcher.setReturnURLScheme("com.your-company.your-app.payments")Next, we have to specify the same URL scheme in your Info.plist:
<key>CFBundleURLTypes</key>
<array>
  <dict>
    <key>CFBundleTypeRole</key>
    <string>Editor</string>
    <key>CFBundleURLName</key>
    <string>com.your-company.your-app.payments</string>
    <key>CFBundleURLSchemes</key>
    <array>
      <string>com.your-company.your-app.payments</string>
    </array>
  </dict>
</array>
That should be enough for an iOS implementation. If you are interested in exploring the topic in depth, this is the official Braintree documentation, where you can also find SDKs for Android and Javascript.
If you got lost somewhere along the way, you can always check out the sample project.
Before we go any further, let’s check if what I’ve written above is easy for you - or, perhaps, you already see you’ll need help integrating payments into your app? If it’s the latter, feel free to contact us on flutter@allbright.io. We can help!
Drop-in UI
Now that we have completed the preparation and setup stage, we can implement one of Braintree’s best features; it’s Drop-in UI.
If you like, you can create your own interface using the methods provided by the flutter_braintree package. However, if you decide to use the prebuilt UI, it is very easy to implement.
Let’s start with importing the plugin into our UI file:
import 'package:flutter_braintree/flutter_braintree.dart';Then we start creating a request:
final request = BraintreeDropInRequest(
clientToken: '<Insert your client token here>',
collectDeviceData: true,
googlePaymentRequest: BraintreeGooglePaymentRequest(
totalPrice: '4.20',
currencyCode: 'USD',
billingAddressRequired: false,
),
paypalRequest: BraintreePayPalRequest(
amount: '4.20',
displayName: 'Example company',
),
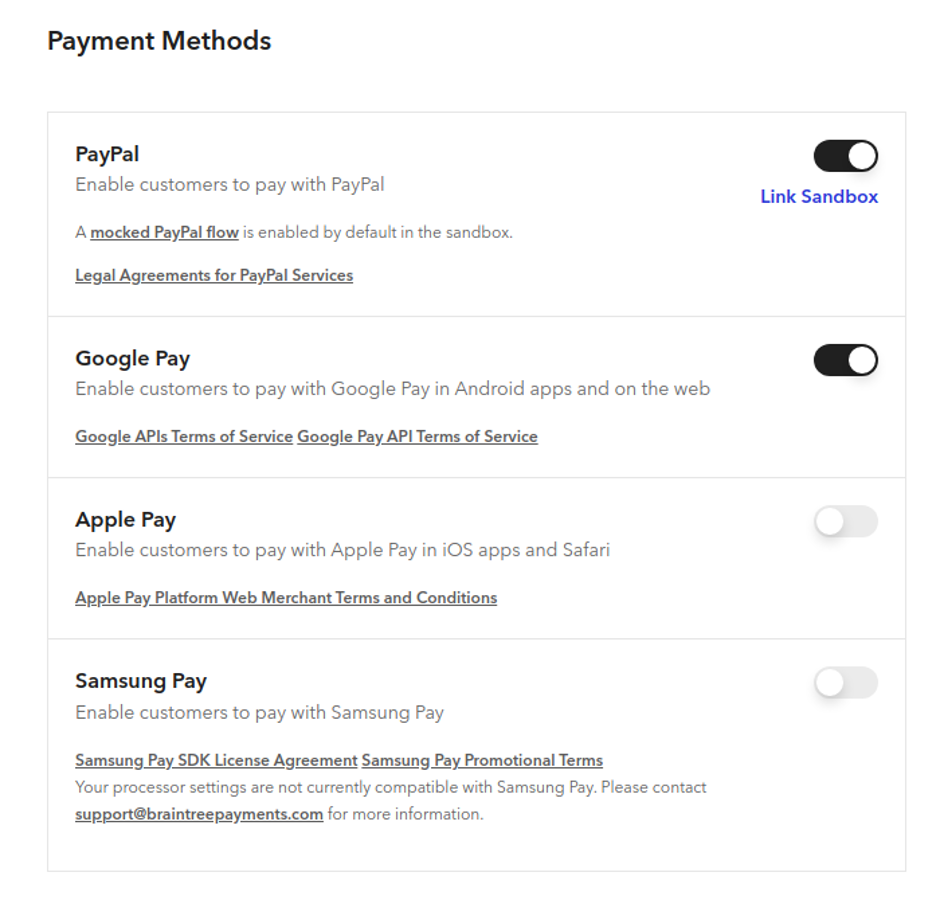
);It is up to you to decide which payment methods you enable for your users. For example, if you are not interested in Google Pay, simply delete googlePaymentRequest: or if you want to add Venmo then add venmoEnabled: true
After creating a request of this kind, we can call Drop-in UI to which we send our request:
BraintreeDropInResult result = await BraintreeDropIn.start(request);Then to access the payment Nonce just call:
if (result != null) {
print('Nonce: ${result.paymentMethodNonce.nonce}');
} else {
print('Selection was canceled.');
But what if you don’t want to use the prebuilt UI? Just call your chosen payment method directly like this:
final request = BraintreeCreditCardRequest(
cardNumber: '4111111111111111',
expirationMonth: '12',
expirationYear: '2021',
cvv: '367'
);
And this is where the implementation in Flutter ends. Below, you can find the file repository and FAQs.
Repository with Sample Project
That’s all, for now!
We hope you found the information presented in this article useful. If you need help integrating payment processing into your app, please feel free to contact us on marek@allbright.io.
FAQs
Q: Are all payment methods supported by this package?
A: The Flutter package is in continuous development, so please note that some features, such as Samsung Pay, may not be available yet. This can change at any time so my advice is to check the latest current documentation.
Q: After adding the Key I have the following error:
Unhandled Exception:

PlatformException(braintree_error, Merchant account not found, null)
A: Usually this problem is due to a bad Braintree account configuration, not a package error.
For more about this, check:
https://stackoverflow.com/questions/41757631/paypal-with-braintree-saying-merchant-account-not-found
Q: What causes “Type mismatch: inferred type is MainActivity but FlutterEngine was expected”?
A: This can be solved by upgrading Flutter to the newest stable version
Q: I have an “Exception with PayPal payment on iOS”
PlatfomException (PlatformException(braintree_error, The operation couldn’t be completed. Application does not support One Touch callback URL scheme, null))A: You must ensure that the URL is exactly the same as the one specified in Info.plist
Sources:
https://stackoverflow.com/questions/41757631/paypal-with-braintree-saying-merchant-account-not-found
https://braintreegateway.com
https://developers.braintreepayments.com/guides/paypal/client-side/ios/v4